Documentation Index
Fetch the complete documentation index at: https://www.klavis.ai/docs/llms.txt
Use this file to discover all available pages before exploring further.
Prerequisites
- Moneybird Account
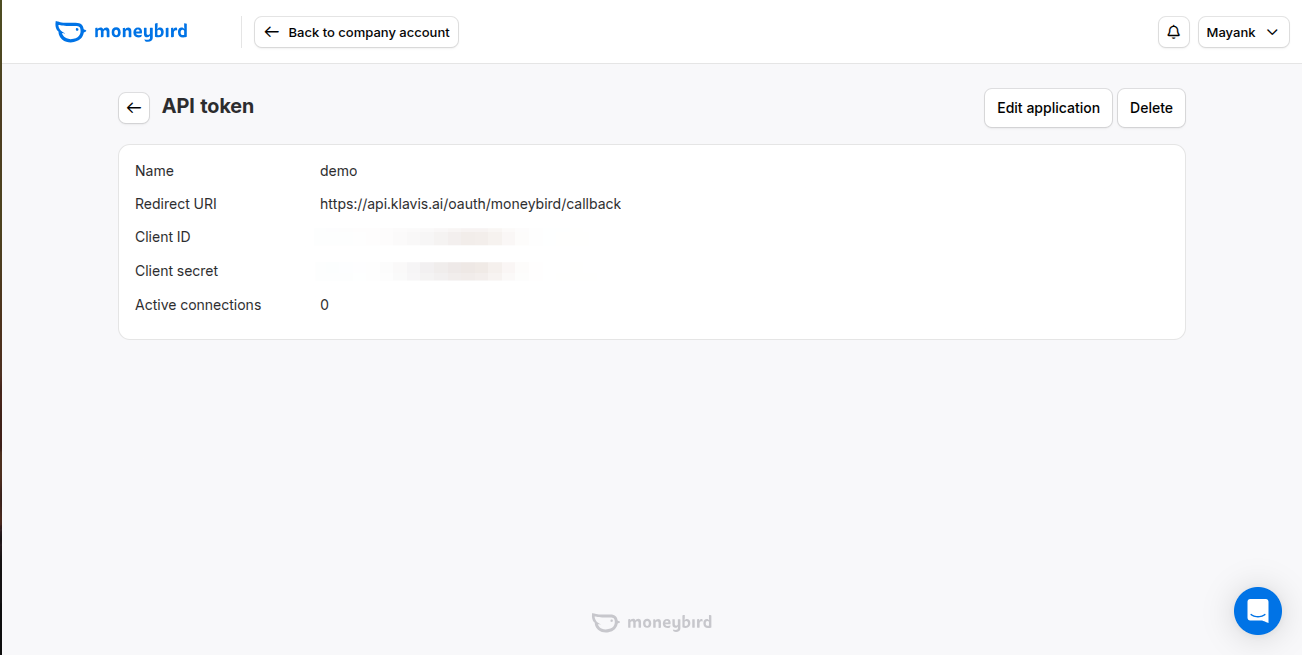
Step 1: Registration of your application
- Visit https://moneybird.com/user/applications/new
- Enter a Good Name
- Add callback URL:
https://api.klavis.ai/oauth/moneybird/callback - Click Save.

Step 2: Request Scopes
Klavis Moneybird MCP Server uses the following OAuth scopes:
sales_invoices, documents, estimates, bank, time_entries, settingsYou have successfully created a Moneybird OAuth application! You now have your Client ID and Client Secret ready for integration with Klavis AI.
(Optional) Step 3: White Labeling
White labeling allows you to customize the OAuth experience with your own branding instead of Klavis AI’s.
- Configure White Labeling: Go to https://www.klavis.ai/home/white-label
- Add Your Credentials: Enter your Moneybird Client ID and Client Secret from Step 1
-
Set Redirect URI: Use
https://api.klavis.ai/oauth/moneybird/callbackor your custom callback URL -
Initiate OAuth: Use your client ID when starting the OAuth flow: